Post-Migration Checklist: What to Check After Launch
A post migration checklist for the first day and week: pages, forms, TLS, email, redirects, cron jobs, and the SEO checks that protect rankings.
By Matthew Zhao · Editor, Hosted EZ
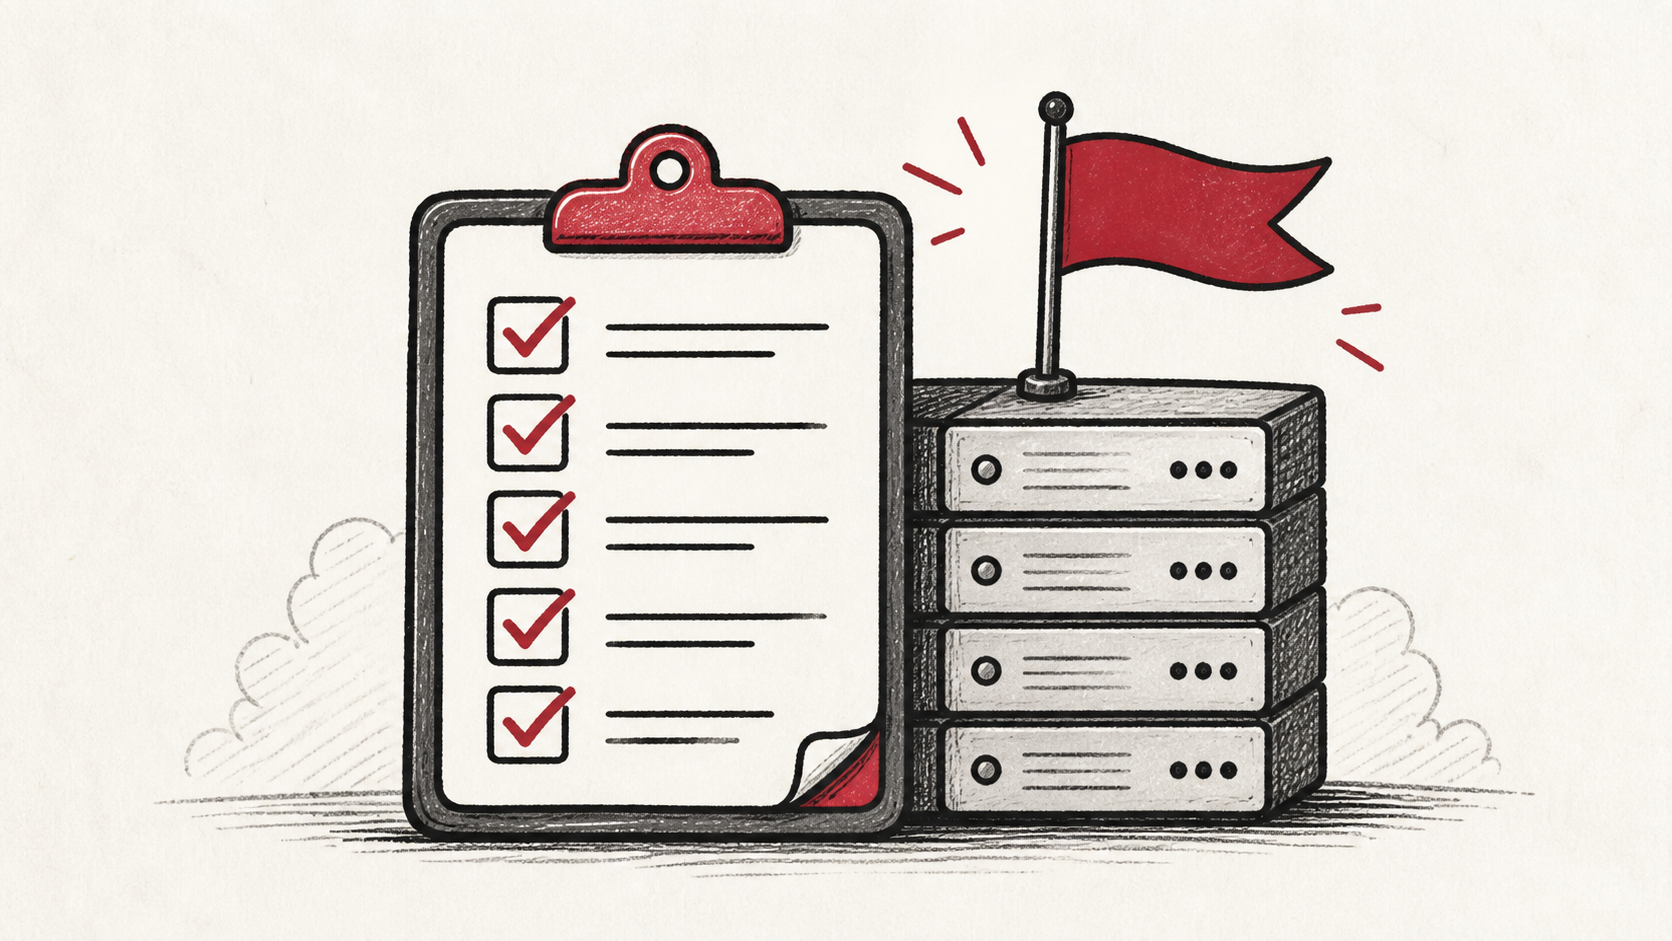
The migration is done when the checks are done, not when DNS flips. A post-migration checklist catches the failures that do not announce themselves: the form that stopped sending, the cron job that never came across, the redirect that quietly returns a 404. This guide is that checklist, ordered by how fast each problem compounds.
It pairs with the before-and-during steps in our zero-downtime migration guide, and with how to choose a web host if the move has not happened yet.
The first hour: pages, forms, and certificates
Click through the site the way a visitor would: key pages, login, search, and every form. Then check HTTPS on a few URLs — a missing or misconfigured certificate is the loudest possible post-launch failure and the fastest to notice.
Make a short note of anything that differs from the old host, with the exact URL and time. Do not chase fixes yet; a complete list beats a fast start.
The first day: email, cron jobs, and integrations
Send a message through every form and confirm it arrives. Check that scheduled jobs — backups, digests, feed updates — actually ran on the new host, because they fail silently and nobody misses them until the day they were needed. Confirm third-party integrations too, since some pin the old server's IP address.
Use a private browser window for these checks. Cookies and cached redirects can show you the old behavior long after the new host took over.
Keep the old host until the post-migration checklist is clean
Keep the old hosting account running until DNS has settled and every check has passed. The old account is your rollback, and it is cheap insurance for the short period when caches and mail routes disagree.
Test the normal path first, then the part with the most consequence. For a store, that is checkout. For a form, it is receiving the email. A test should answer one question rather than produce a vague impression.
When to stop and ask for help
Stop when the next action could overwrite data, change production mail, or remove access to an account. Send support the domain, time in UTC, exact error, and the changes made during the migration. Include a screenshot when it shows the error, but never credentials.
ICANN's registrant FAQ has useful background on how domains and their records are controlled: ICANN's registrant FAQ. Use it to understand the terms, then return to the small, reversible next step.
The SEO migration checklist comes next
Crawl the site for broken links, confirm old URLs redirect to their new homes with permanent 301 redirects, and resubmit the sitemap in your search console. Rankings generally survive a clean move; what costs positions is a redirect map nobody verified. The full website migration checklist covers the pre-move SEO groundwork this step assumes.
Keep the checks auditable
Work through the post-migration checklist with a pen in hand: record what you tested, when, and the result. If something has a delay — a DNS TTL, a cache expiry, a search engine recrawl — write down when you expect to see the change. The record is the difference between "we checked" and knowing what was checked.
Do not confuse the new host's dashboard with evidence from the live site. A dashboard can accept a deployment while visitors still receive cached pages from the old server. Test from outside the account, on a second connection if a cached answer could mislead you.
If someone else finishes the checklist, hand them the record rather than a conclusion. "Something seems off since the migration" is hard to investigate. "This form stopped delivering at 14:00 UTC on cutover day" gives the next person a useful starting point.
One last check before you relax
A week after cutover, repeat the highest-consequence tests once more: checkout, forms, backups, and a search for your own key pages. If a result differs, note it and troubleshoot from that point. A quiet confirmation now is much easier than discovering the missed detail during a launch or an outage.
Leave a useful handoff
Save the completed checklist with dates and the accounts involved. The next migration — or the next incident — starts from this record instead of from memory, which is the whole reason to keep one.
Bottom line
A post-migration checklist works in expanding circles: pages and certificates in the first hour, email and cron jobs in the first day, SEO and a final sweep across the first week. Keep the old host until every circle is clean, and keep the record — the checklist you save doubles as the site launch checklist you will want next time.
Frequently asked questions
Do I need to fix everything the checklist finds at once?
No. Fix one issue at a time, retest it, and keep notes on the previous state until the site has been stable for a few days.
What should I send hosting support when a check fails?
Give the domain, exact URL or service, UTC time, error text, and the steps already tried. That is usually enough for support to find the relevant logs.
How long should I run post-migration checks?
Run the full list in the first day, then repeat the high-consequence checks after a week. Most silent failures — cron jobs, email, redirects — surface within that window.
Should I keep the old host's backups after migrating?
Yes. Verify a recent backup of files, database, email, and DNS records exists on your side before the old account closes. It is the only copy of the site's pre-move state.
About the author
Matthew Zhao
Matthew has spent his career running production server fleets — tens of thousands of machines' worth. He writes about hosting the way he wishes someone had explained it to him: plainly.
About Hosted EZ →Get the next guide in your inbox
One email when we publish something worth your time. No spam, unsubscribe whenever.