How to Migrate Your Website to a New Host Without Downtime
Migrate your website to a new host with zero downtime: copy, test via your hosts file, drop the DNS TTL, then cut over with a rollback ready.
By Matthew Zhao · Editor, Hosted EZ
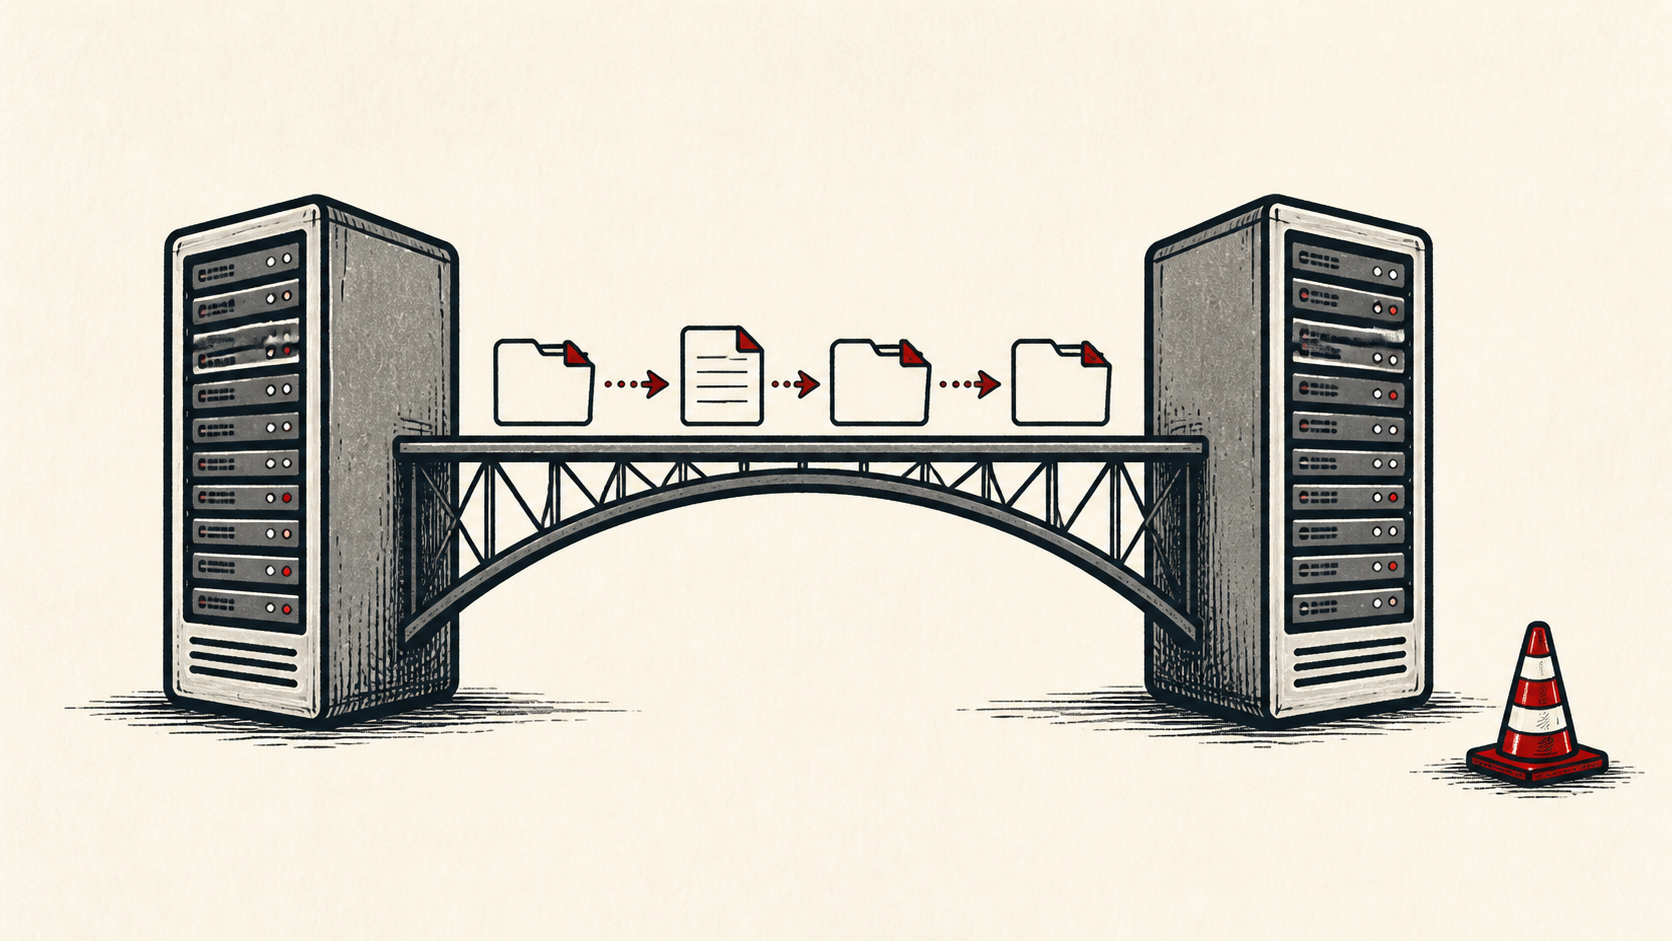
Most horror stories about migrating a website to a new host start with the same mental model: the site "lives" on the old host, so you have to shut it down, carry it across, and set it back up on the new one. That model is where website migration downtime comes from, because there is always a gap between the shutdown and the setup, and the gap is when things break.
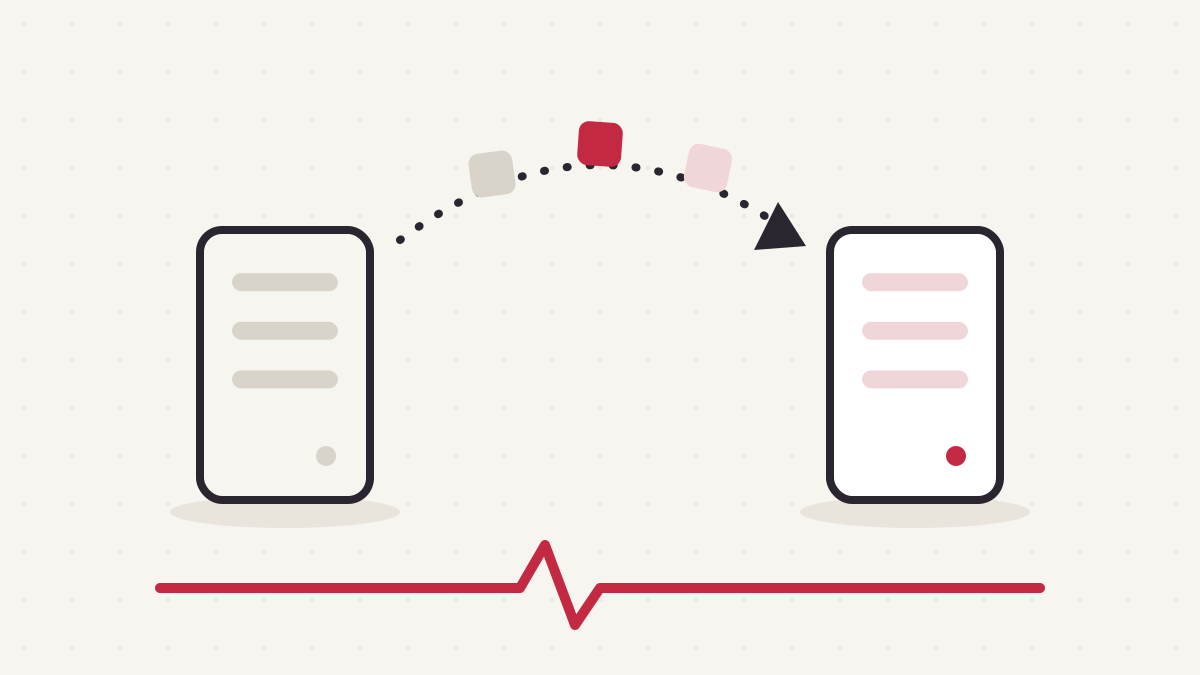
There is a better model: you never move a website at all. You run two complete copies of it on two hosts at the same time, prove the new one works, then quietly redirect traffic from one to the other. Visitors never see a gap because at every moment at least one working copy is answering requests.
Everything below is that idea turned into a checklist. Budget a week of calendar time, most of it waiting, and maybe three or four hours of actual work. If you are still shopping for the destination, read how to choose a web host first. Migrating twice is nobody's hobby.
1. Inventory everything you are actually hosting
Write down every piece of your site before you touch anything. A "website" is usually five or six separate things wearing a trench coat, and forgetting one of them is how a site migration fails a week later.
Your list should cover the site files (code, themes, plugins), the database, any uploaded files that live outside the codebase (user avatars, PDFs, images added through an admin panel), email if your domain handles mail, cron jobs or scheduled tasks, your TLS certificate setup, and any environment variables or config files holding API keys and database credentials.
Email deserves special paranoia. If your mail runs through your current host, make a plan for it before you change anything, because when mail bounces you never find out what you missed. Cron jobs are the other silent piece: they run invisibly, so nobody notices they are gone until the nightly backup stops existing.
On a managed plan your host handles some of this for you; on your own server all of it is yours. The managed vs. unmanaged breakdown covers where that line sits.
2. Lower your DNS TTL a day or two ahead
DNS is the internet's phone book: it maps your domain name to your server's IP address. Every DNS record carries a TTL (time to live), which tells the rest of the internet how long it may cache that answer before asking again. If your TTL is 24 hours, some visitors will keep hitting your old server for up to a day after you change the record.
So lower it early. Log in to wherever your DNS is managed, find the A record (and the AAAA record if you have one) for your domain, and drop the TTL to 300 seconds, which is five minutes. Do this at least a day before the migration so every cached copy of the old, long TTL has time to expire.
This one step does most of the zero-downtime work. With a five-minute TTL, your eventual cutover propagates in minutes instead of hours. Cloudflare's Learning Center has a good plain-English explainer on how TTL works if you want the deeper version, and our guide to lowering DNS TTL before a migration covers the timing in more detail.
3. Copy the site to the new host
Set up the new server with whatever your stack needs: the same web server, language runtime, and database engine, with versions as close as you can get. Then copy everything over while the old site keeps serving traffic, untouched.
For files, rsync is the standard tool. It copies over SSH, preserves permissions, and only transfers what has changed, which makes your final sync later almost instant:
rsync -avz /var/www/mysite/ deploy@203.0.113.10:/var/www/mysite/
For the database, take a dump on the old host and restore it on the new one. With MySQL that looks like:
# On the old host
mysqldump --single-transaction mydb > mydb.sql

# On the new host, after copying the file over
mysql mydb < mydb.sql
Recreate your cron jobs, environment variables, and config files by hand; they rarely come along automatically. Get a TLS certificate issued on the new server now rather than on launch day, so you can test it before real traffic arrives.
4. Test the new server before touching DNS
You can visit the new server as if DNS had already changed, while the rest of the world still sees the old one. That trick is what makes the whole plan safe. You do it by editing the hosts file on your own computer, which overrides DNS just for you.
On macOS or Linux, edit /etc/hosts (on Windows, it is C:\Windows\System32\drivers\etc\hosts) and add a line pointing your domain at the new server's IP:
203.0.113.10 example.com www.example.com
Now open your site in a browser. You are looking at the new host, on your real domain, with your real TLS certificate. Click through everything: log in to the admin panel, submit a form, upload a file, check that images load and that HTTPS shows no warnings. This is where you find the broken database credential or the missing PHP extension while it is still a private problem instead of a public one.
When you are done testing, remove the line from your hosts file. Forgetting it there leads to a special kind of confusion later.
5. Freeze content and run the final sync
Your copy went stale the moment you made it. Every new blog post, order, or comment since then landed only on the old host. So before cutover, declare a short content freeze: stop publishing, stop updating plugins, and stay out of the admin panel. For a typical small site, an hour is plenty.
Then re-run your rsync and your database dump-and-restore. Because rsync only moves changed files, this pass takes seconds. Both hosts now hold identical, current copies of your site, and you are ready to flip.
6. Flip DNS and watch traffic move
Go to your DNS manager and change the A record (and the AAAA, if present) from the old server's IP to the new one. That is the entire cutover. You do not restart anything or put up a maintenance page. If this part feels unfamiliar, the guide to connecting a domain to hosting walks through DNS records in more detail.
Thanks to your five-minute TTL, traffic starts shifting almost immediately. You can watch it happen:
dig +short example.com
When that prints the new IP, your corner of the internet has switched. Tail the access logs on both servers and you will see requests taper off on the old box and pick up on the new one. Visitors caught mid-transition still get a working site either way, since both copies match.
Once things look stable, raise your TTL back to something normal, like 3600 seconds, so DNS resolvers are not re-asking every five minutes forever.
7. Keep the old host running for a week
Do not cancel the old account on cutover day. Leave the old server exactly as it is for at least a week. It is your rollback plan: if something ugly surfaces on day three, you point DNS back at the old IP and you are instantly on a known-good setup while you debug.
Yes, you are paying for two hosts at once. For one week the overlap usually costs a few dollars (see what hosting actually costs), and it buys you the ability to undo the entire migration with one DNS change. That is cheap insurance.
Where migrating a website to a new host goes wrong
Four mistakes account for most failed attempts to move a website to a new host.
Forgotten MX records. Your A record points web traffic; MX records point email. If you copy only the A record change and your mail was handled by the old host, email dies the day you cancel that account. Confirm where your mail actually lives before cutover, and make sure the new DNS setup preserves the MX records exactly.
Expired or missing TLS on the new box. If the new server has no certificate, or only a self-signed one, every visitor gets a browser warning the moment DNS flips. Issue and test the certificate during step 4, not after launch.
Hardcoded IPs. Config files, API webhooks, firewall allowlists, and the occasional lazy script sometimes reference the old server's IP address directly instead of your domain. Search your codebase and your third-party dashboards for the old IP before you decommission it.
Uploaded-files drift. The classic: you copy the site, spend three days testing, and forget that users kept uploading images to the old host the whole time. The freeze-and-final-sync step exists to prevent exactly this; skip it and you lose whatever arrived between your first copy and the DNS flip.
Keep the migration auditable
Keep a short record as you go: both servers' IPs, the DNS values before and after, the TTL, and the exact cutover time. A migration has several delayed effects — TTL expiry, certificate issuance, cache warmup — so write down when you expect each to be visible. When something looks off on day three, this record tells you whether it is a real problem or an old cache.
Do not confuse either host's dashboard with evidence from the live site. A dashboard can show that it accepted the DNS change or the deployment; the visitor still needs to receive the page from the new server. Test from outside your accounts, and use a second connection if a cached answer could mislead you.
If someone else finishes the migration, give them the record rather than a conclusion. "The site is slow since the move" is hard to investigate. "Latency rose after cutover at 14:00 UTC, on this URL, from this region" gives the next person a useful starting point.
One last check
Before you call the migration done, browse the site from a connection that has not touched it all day and confirm dig returns the new IP there too. Then run through our post-migration checklist — forms, cron jobs, email, and redirects are where a migrated site fails quietly. A quiet confirmation now is much easier than discovering the missed detail after the old host is gone.
Bottom line
Zero-downtime migration comes down to a sequence: run both hosts in parallel, test through your hosts file, drop the TTL early, sync one last time, and flip DNS when both copies match. Keep the old host warm for a week, and the worst case for the whole project is one DNS change back to where you started.
Frequently asked questions
How long does it take to migrate a website to a new host?
Plan for about a week of elapsed time, mostly waiting: a day or two for the TTL change, testing at your own pace, then the rollback overlap. Hands-on work is typically three to four hours for a small site, and the cutover itself takes minutes.
Do I need to tell my visitors about the migration?
Generally no, and that is the point. If both copies are identical at cutover time, visitors cannot tell which server answered them. The one exception is a site with constant user-generated writes, where you may want to announce a brief read-only window during the final sync.
What happens to visitors during DNS propagation?
They land on whichever server their DNS resolver still has cached, and because both servers are serving the same content, either answer is correct. This is why the final sync matters: the parallel period is only safe while the two copies match. With a 300-second TTL, the ambiguity lasts a few minutes rather than days.
Can I migrate a site with a database that changes constantly?
Yes, but the freeze window matters more. For a busy store or forum, schedule the final database sync for your quietest hour and put the site in maintenance or read-only mode for those few minutes; writes pause while reads keep working. True zero-write-loss migration of a high-traffic database uses replication, and that is worth hiring help for.
About the author
Matthew Zhao
Matthew has spent his career running production server fleets — tens of thousands of machines' worth. He writes about hosting the way he wishes someone had explained it to him: plainly.
About Hosted EZ →Get the next guide in your inbox
One email when we publish something worth your time. No spam, unsubscribe whenever.