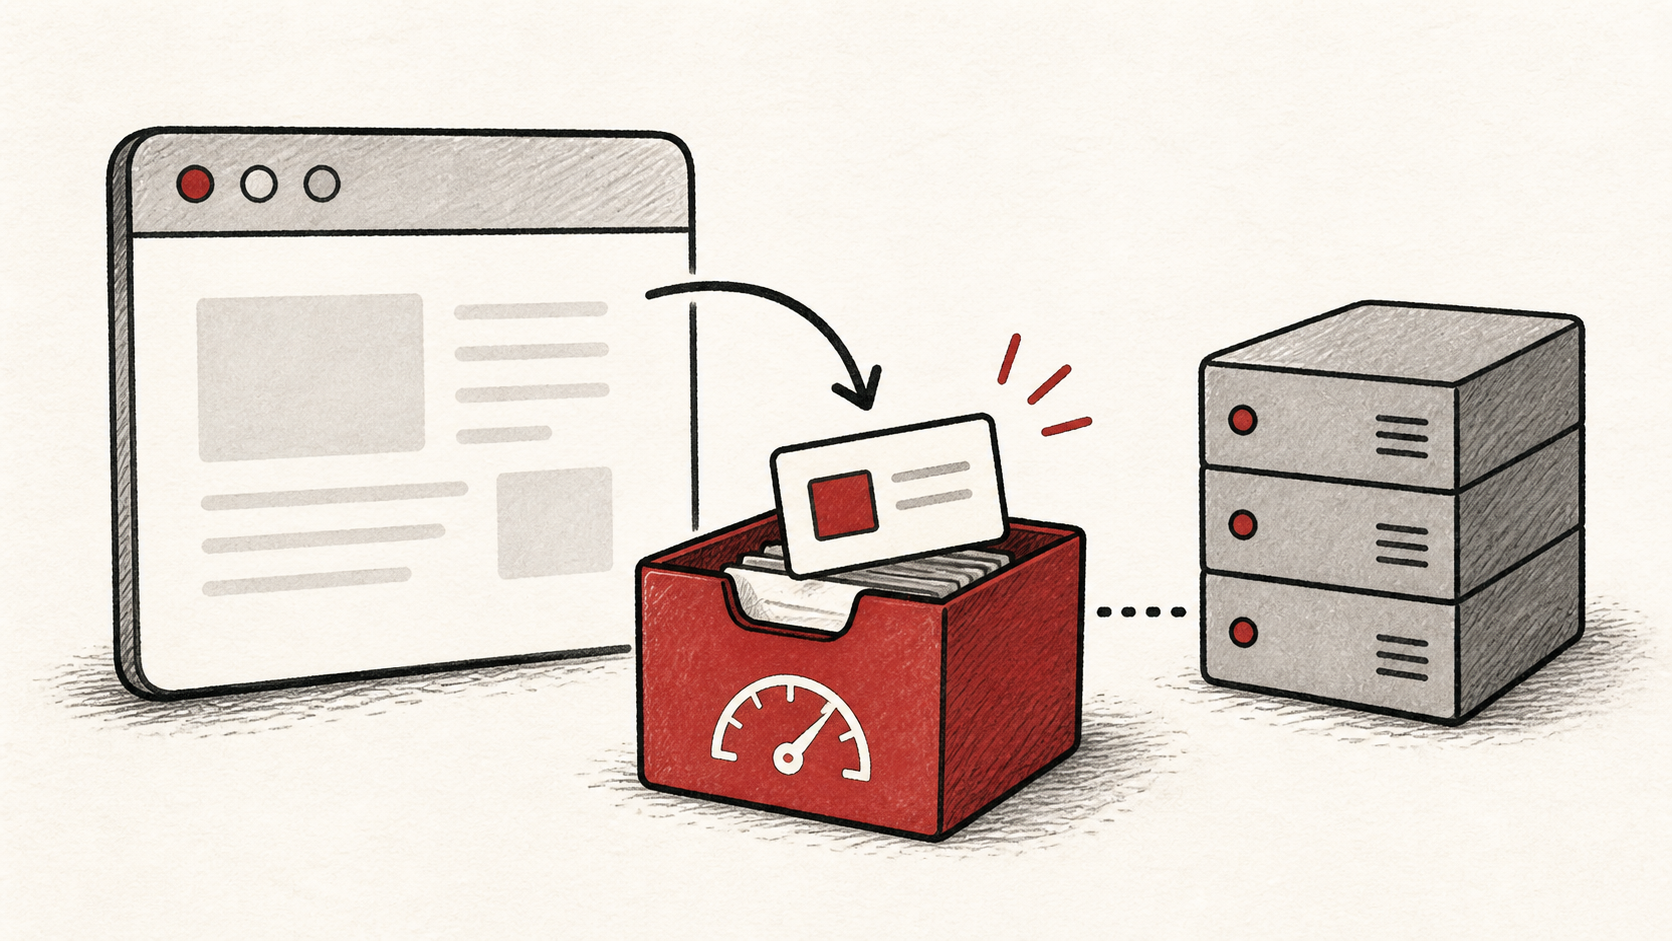
Product Image Optimization: Fast Pages, Photos That Still Sell
Product image optimization for small stores: resize, compress, and serve WebP so product pages load fast without your photos looking worse.
By Matthew Zhao · Editor, Hosted EZ

Product image optimization is the highest-leverage speed work most small stores can do: product photos are almost always the heaviest thing on the page, and shrinking them well makes every product view faster without making anything look worse. This guide covers the changes a store owner can make safely — sizes, compression, and formats — and where your platform or a developer should take over.
Read how to choose a web host if you are still picking the broader setup, and our guide to migrating hosts without downtime before changing live infrastructure.
Start with the pages that make money
Protect the routes that earn revenue: product pages, cart, and checkout. A store can have a fast homepage and still lose the sale on a product page carrying ten full-resolution photos.
Make a short note of the worst offenders: the exact URLs, the current image sizes, and the last known good state. You want enough detail to retrace the work later, without collecting anything sensitive.
Product image optimization in three moves: resize, compress, convert
Most product photos leave a camera more than 3,000 pixels wide and land in a slot the page displays at 600. Resize to roughly the displayed size first — it is the single biggest saving and costs no visible quality.
Then compress, and serve WebP, a modern format that produces smaller files than JPEG at the same visual quality. General image optimization technique applies here, but product photos deserve a stricter eye: zoom views and fabric textures show compression artifacts before anything else does.
Test the result like a shopper
Do this work before a campaign begins, not during one. Confirm cache behavior and who can act if the store slows down mid-sale; waiting until the promotion starts leaves you very few good options.
Test the normal path first, then the part with the most consequence — for a store, that is checkout, plus the zoomed product view where over-compression shows. Use a private window or a second device so a cached copy of the old images does not flatter the result. A test should answer one question rather than produce a vague impression.
When to stop and ask for help
Stop when the next action could overwrite data or remove access to the account — bulk image tools that modify originals in place deserve particular suspicion. Send support the domain, time in UTC, the exact URL, and the changes you made, but never private keys or payment details.
If your store handles cards, the PCI Security Standards Council library has background on the payment-security standards that sit behind checkout. Use it to understand the terms, then return to the small, reversible next step.
A sensible maintenance habit
Put the final settings — the export size, the quality value, the format — in a short maintenance note, because product image optimization is recurring work: every new upload needs the same treatment. A dated note turns the next batch of product photos into a lookup instead of an investigation.
Keep the change auditable
Keep a short before-and-after record: the page, the old total page weight, the new one, and the date. If your host or CDN caches images, note when the cache expires so you do not judge the change while the old files are still being served.
Do not confuse the media library with evidence from the live site. A dashboard can show a compressed upload while visitors still receive the old cached original. Test from outside the account.
If you hand the task to someone else, give them the record rather than a conclusion. "Product pages feel slow" is hard to investigate; "this URL dropped from a heavy page to a light one and the zoom view still looks clean" tells the next person exactly where things stand.
One last check
Before you call it done, load a product page the way a shopper would — on a phone, over an ordinary connection, in a private window. If the photos look worse or the page is not meaningfully lighter, note the difference and keep working from there. A quiet confirmation now beats discovering muddy product photos during a launch.
Leave a useful handoff
Save the final export settings and test result with the date. Whoever prepares the next batch of product photos should be able to match them without reconstructing the work from browser history.
Bottom line
Product image optimization comes down to three moves: resize to the displayed size, compress to a quality you have checked by eye, and serve WebP where your platform supports it. Keep the originals, keep notes, and test on the pages that make money.
Frequently asked questions
Do I need to optimize every product photo at once?
No. Convert one collection or one template, check it by eye and by page weight, and keep the original files until you know the result is stable.
Is WebP safe to use for product photos in 2026?
Yes. Every mainstream browser has supported WebP for years, and most platforms fall back to JPEG automatically where needed. The bigger risk is over-compression, so check zoom views after converting.
Should I keep backups of the original images?
Yes. Keep full-resolution originals outside the site before any bulk compression. If a batch comes out over-compressed, you re-export from the originals instead of re-shooting.
About the author
Matthew Zhao
Matthew has spent his career running production server fleets — tens of thousands of machines' worth. He writes about hosting the way he wishes someone had explained it to him: plainly.
About Hosted EZ →Get the next guide in your inbox
One email when we publish something worth your time. No spam, unsubscribe whenever.